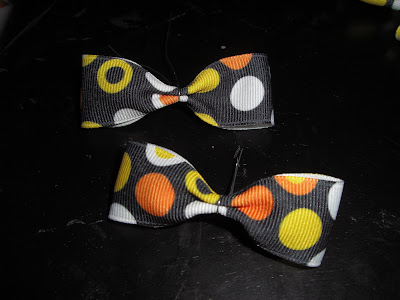
Everyone has been been raving compliments on me for the Princess's bows but seriously all of you can do them. I have simplified them for myself...LOL.
Start out with ribbon twice the length you want your bows width to be. This one is 6inches long for a 3in bow.
Glue the ends together to form a circle.
Pinch your circle flat and then pinch the center together.
I wrap this part with floral wire but some use string or sew it (too much work for me)
You want to make two of them the same size to form your "bow"
Place them together and wrap with another piece of floral wire.
Here I attached a yellow bow behind the printed one. The yellow bow is a 4 in bow.
You can embellish your bows with anything you like...more ribbion, buttons...etc. For this one I used one figure eight.
I like to wrap the top of my clip in ribbon...I think it helps the glue hold it to the bow better. Be sure to only wrap the top of the clip - if you add ribbon to the bottom you'll have trouble getting it into the hair.
Glue clip onto the back of the bow.
So there you have it. I said it was simple. The "bow" is basically two circle's pinched and attached to each other. Those sneaky bow makers hehe.
The Snug
3 days ago


0 comments:
Post a Comment